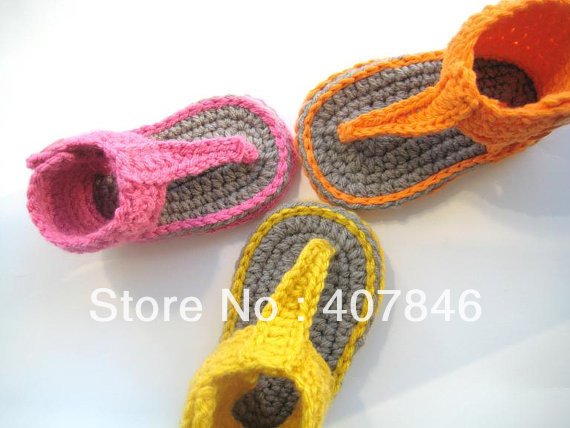
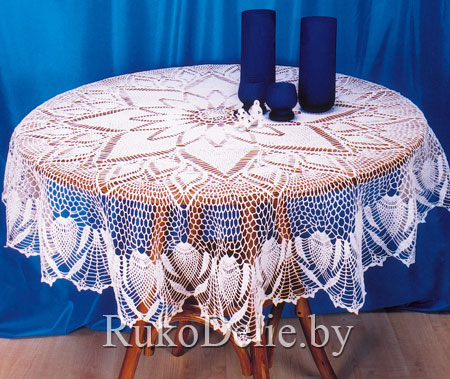
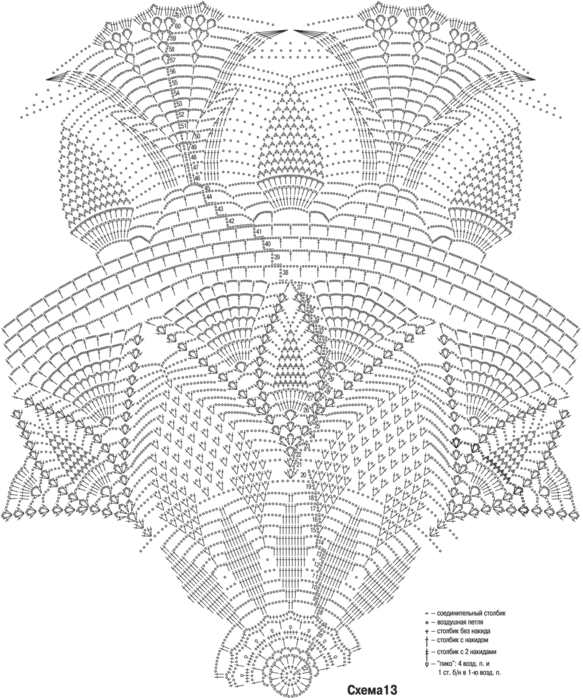
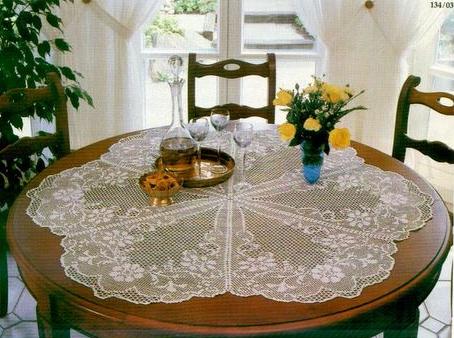
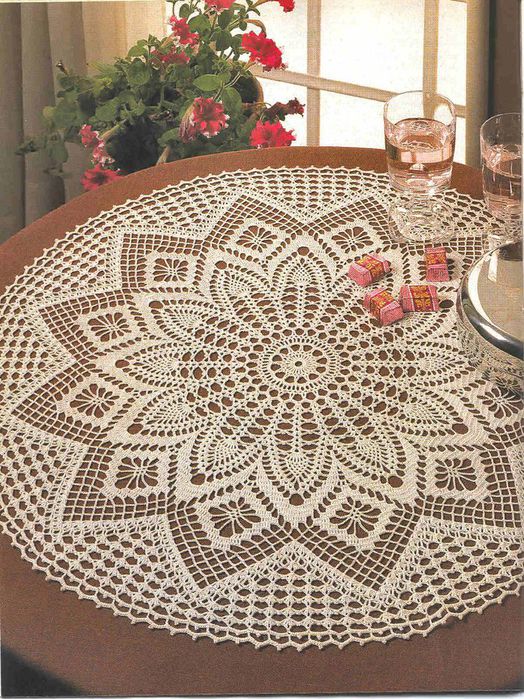
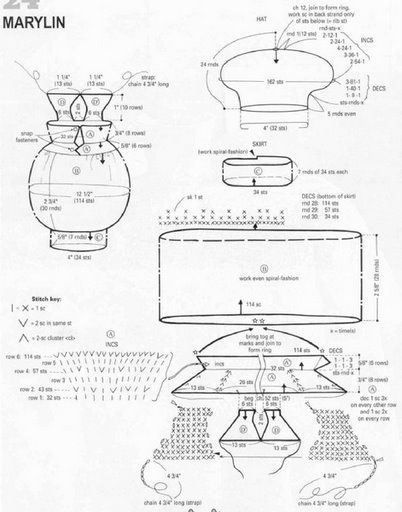
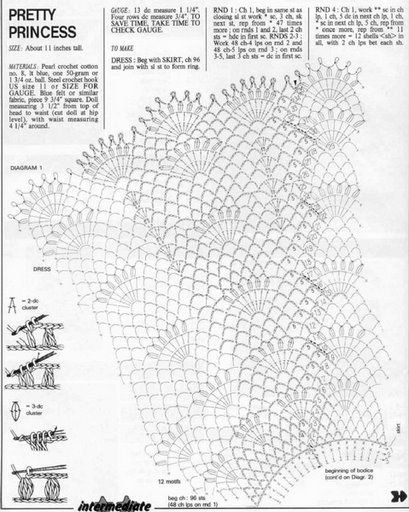
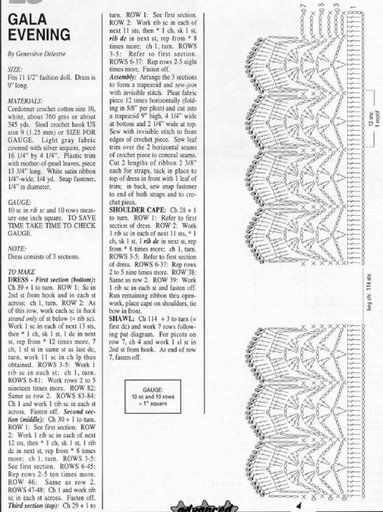
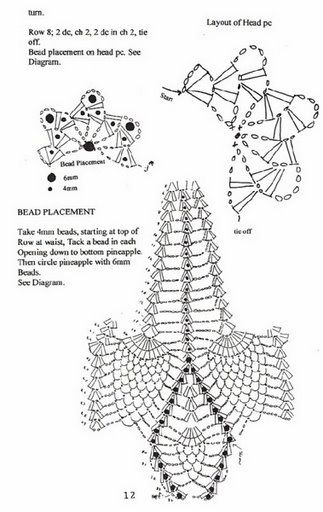
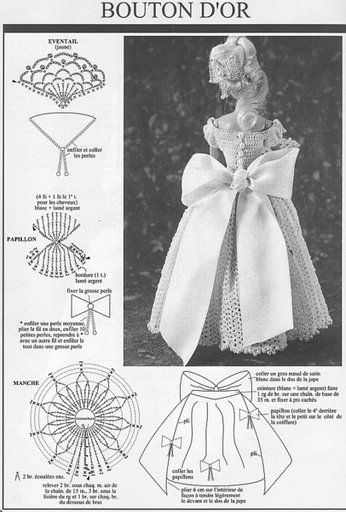
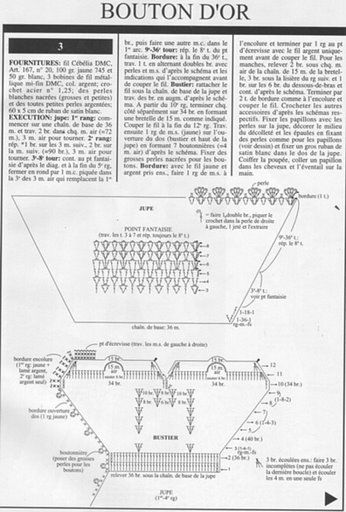
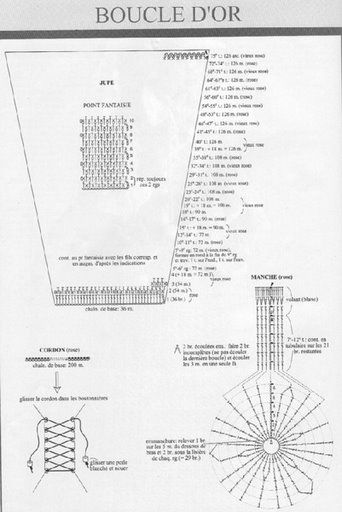
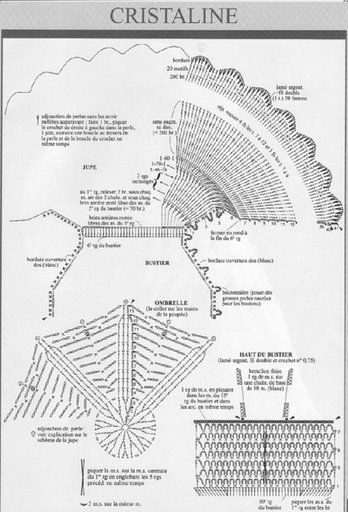
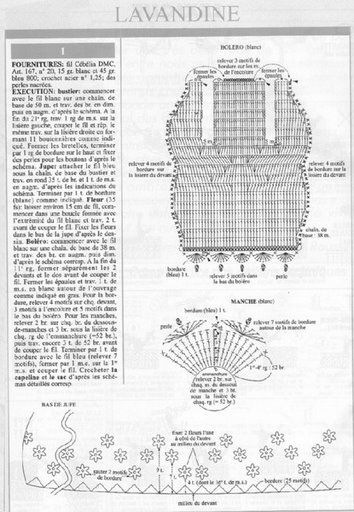
Crochet: An Introduction
They say that a picture is worth a thousand words. Put it to the test: here’s a video describing the basics of crochet. And if that’s not enough, you can read the explanations below.
Learn how to begin any crocheting project
sent by craftmastery
Supplies
- Yarn
- Crochet hook
- Scissors
Instructions
Before you start, know that crochet stitches involve twisting yarn. The stitches therefore look different depending which side of your work you’re looking at. When you’re joining several separate pieces of work together, check to make sure they’re all facing the same direction so that the finished piece will have a uniform appearance.
Hand positions
First, you have to learn to hold your tool.
There are 2 ways to hold a crochet hook (here, shown for the right hand):
Then, you have to guide your yarn with your other hand.
Guide the yarn with your index finger.
Basic stitches
- The chain forms the base row of every crochet project. This starting chain is always made up only of chain stitches, but chains can be used elsewhere in the work, as well.
- The very first stitch is a slip knot.
Set-up (slip knot)
- Make a loop in the end of the yarn, leaving a few extra cm/inches.
- Slide the hook inside this loop, hook pointing down.
- Pass the yarn (that’s still connected to the skein) over the top and then under the hook.
- Pull the yarn through the loop by pulling the hook from left to right.
- Gently tighten the slip knot on the hook.
Yarn over (yo), to make a new loop
- Take the yarn attached to the skein.
- Place it over and then under the hook.
- If making a new loop, pull it from left to right through the previous loop to form new loop.
Chain (ch)
- Yarn over hook.
- Use hook to pull the yarn through the loop.
Slip stitch (sl. st.)
- Pass the hook through the previous stitch.
- Yarn over.
- Use the hook to pull the yarn through the stitch and the loop that’s on the hook in 1 motion.
Double crochet (dc, British)/Single croch
et (sc, American)
- Pass the hook through the previous stitch.
- Yarn over.
- Pull the yarn through the base stitch (A).
- Yarn over again.
- Pull the yarn through the 2 loops on the hook (B).
Half treble crochet (htr, British)/Half double crochet (hdc, American)
- At the beginning of the row, skip 2 sts.
- *Yarn over (A).
- Pass the hook through the previous stitch (remember to skip 2 sts.).
- Yarn over again.
- Pull the yarn through the 1st loop.
- Yarn over again (B).
- Pull the yarn through the 3 loops (C)*.
- Repeat from * to * to make another half treble crochet/half double crochet.
Treble crochet (tr, British)/Double crochet (dc, American)
- At the beginning of the row, skip 3 sts. from the hook.
- *Yarn over (A).
- Pass the hook through the previous stitch.
- Yarn over again.
- Pull the yarn through the 2 left loops (B).
- Yarn over again (C).
- Pull the yarn through the last 2 loops on the hook (D)*.
- Repeat * to * to make another treble crochet/double crochet.
Work in the round
- Make a chain of the number of sts. indicated in your pattern.
- Connect the last stitch to the first with a slip stitch.
- The ring is formed (A).
! – Each round starts with some chain stitches to bring the hook to the level of the new round to be worked.
- For the first round, pass the hook directly through the ring and not in any of the links of the chain.
- For the following rounds, pass the hook in the top of the preceding row’s stitches.
- At the end of each round, pass the hook through the 1st stitch of that row and make a slip stitch.
! – Pieces worked in the round can’t be turned inside out. The work is done only on the right side.