Palestrina stitch, which is also called old English knot, double knot stitch, and tied coral stitch, creates a line of raised knots that is useful for creating outlines and borders. The secret is to keep your knots evenly spaced and fairly close together. Here’s how to do it:
Draw a straight line on your fabric to use as a guide in keeping your stitched line straight. Take a short straight stitch from top to bottom on the line. After pulling your thread through, come up again just to the left of the bottom.
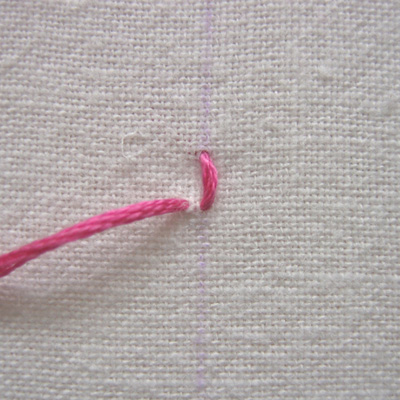
Pull the thread through, then slide your needle from right to left under the first stitch making sure you don’t pierce the fabric.
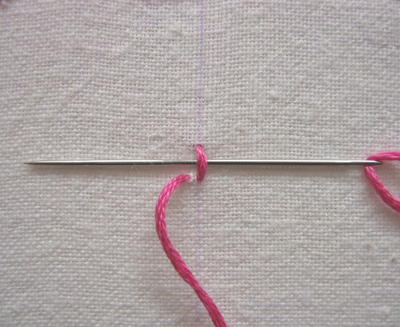
Pull the thread through gently until the loop that is formed with your thread fits snug against the straight stitch.
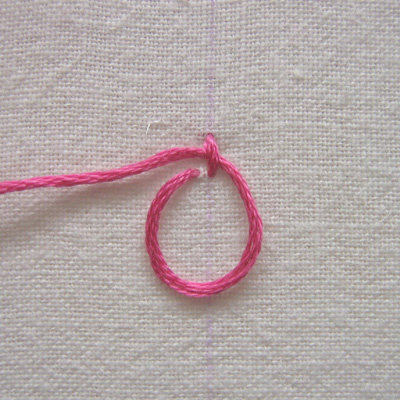
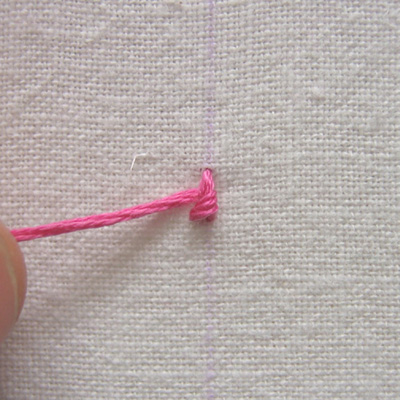
Make a loop to the left with your thread, then slide the needle from right to left diagonally under the straight stitch and looped knot. Keep your needle on top of the loop and again, don’t pierce the fabric.
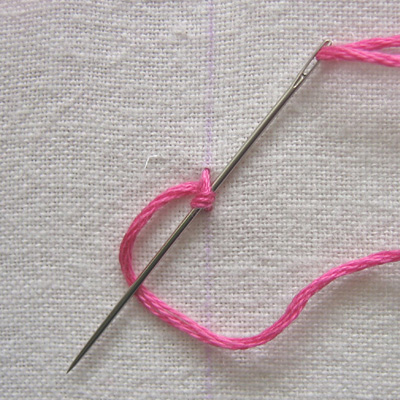
Gently pull the thread through until it forms a knot over the previous one.
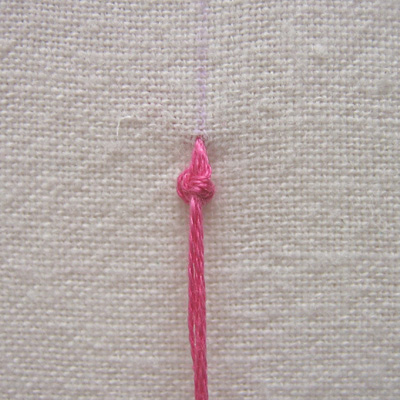
Begin the second knot by taking your thread to the back a short distance below and slightly to the right of the previous knot. I found that if you work directly on the line it tends to curve to the left.
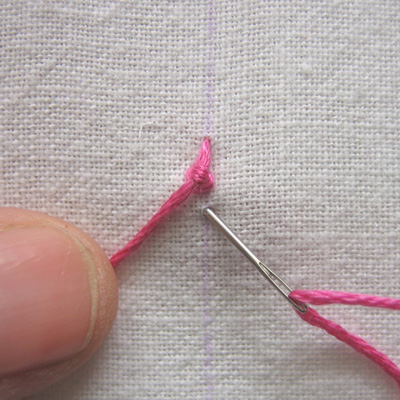
Bring the needle up to the left of the line and straight across from where your needle emerged.
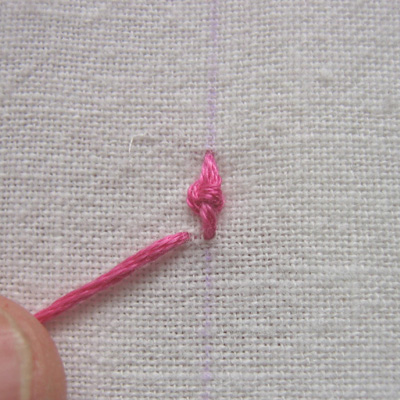
Repeat the previous steps, forming another knot. Then continue working knots along the length of the line until you reach the end.
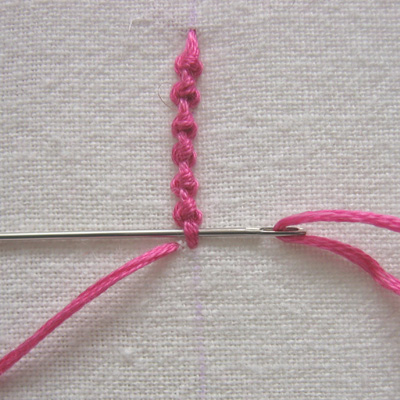
Take your needle to the back close to the last knot.
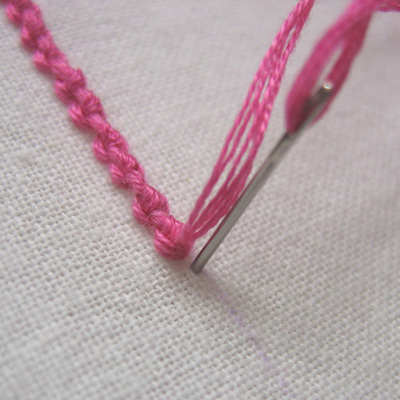
Voila!
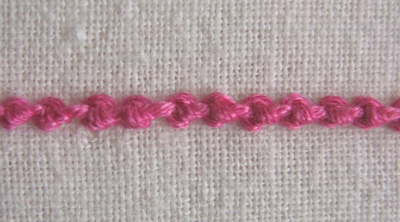
And a side view so you can see how they’re raised off the surface.
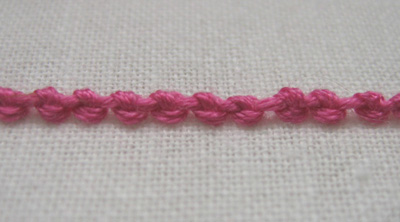
Note: I used six strands of floss so the knots would be nice and chunky for the photos; using the standard three will make a more delicate stitched line.
Links to previous Stitch School posts can be found in the sidebar at the right for those of you just joining in or if you missed one. Happy stitching!