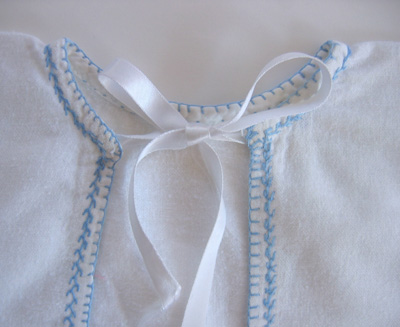
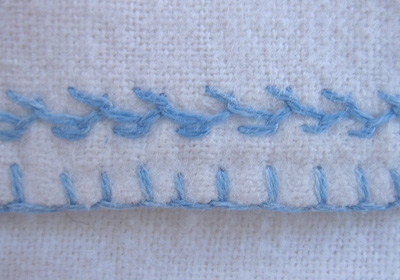
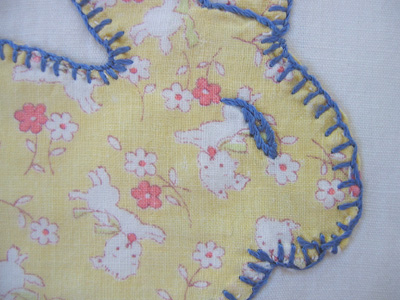
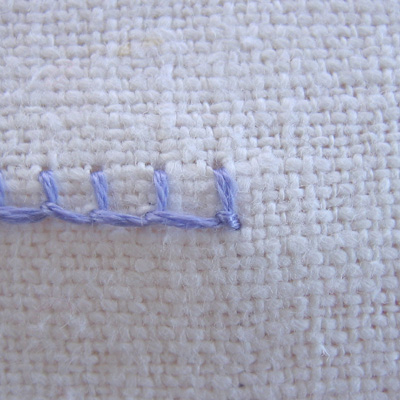
The top stitch in the second picture is called feather stitch and you’ll find instructions for this stitch in the stitches list in the lefthand sidebar. Blanket stitch can also be used for attaching appliquéd pieces of fabric to a base. Here’s an example from a vintage baby quilt—
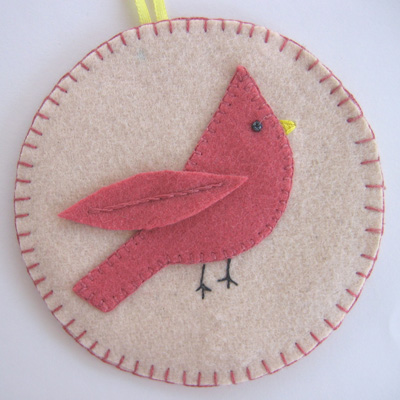
And here’s a holiday ornament I made from felt. The cardinal’s body is attached to the underlayer with tiny blanket stitches and the two circles are bound together at the edges with larger blanket stitches. Blanket stitch works very well around curves!
To start bring your thread to the front. Take the needle to the back about ¼ inch away (diagonally) and come down so the stitch is aligned along the bottom.
Making sure your thread loops under the needle, pull it through until it lies tightly against the emerging thread.
Take the needle to the back again and emerge ¼ inch away from the first stitch. Continue along until you’ve reached your desired length. You’ll see that each new stitch secures and holds the loop of the previous stitch.
To finish, take a small stitch to the back to secure the last loop.
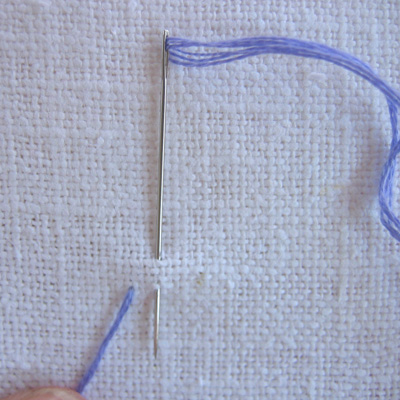
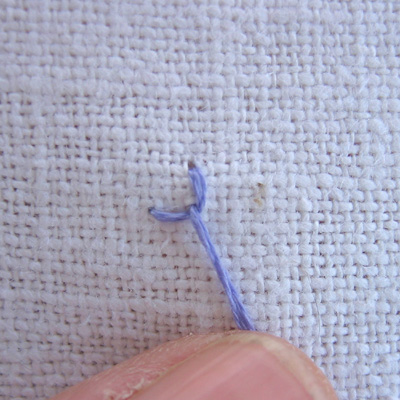
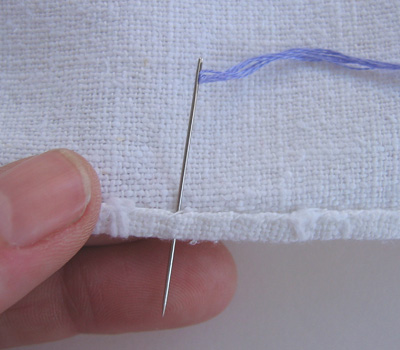
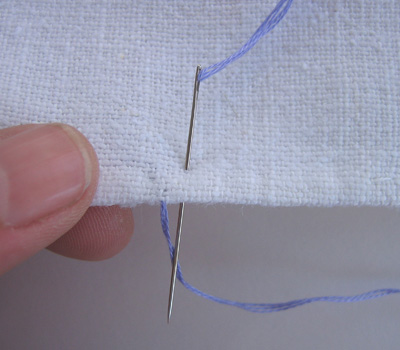
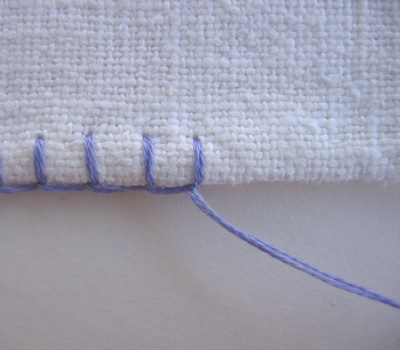
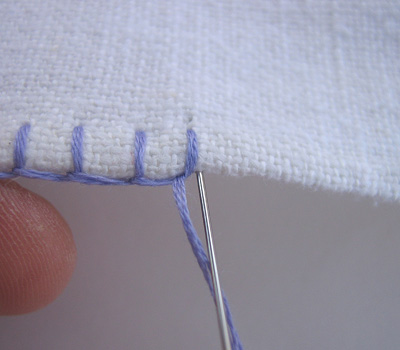
To make a blanket stitch edge for a tea towel, start on the back side by bringing your thread under the hem and through the fold. (If you’ll be working from left to right on the front, start at the far right on the back.)
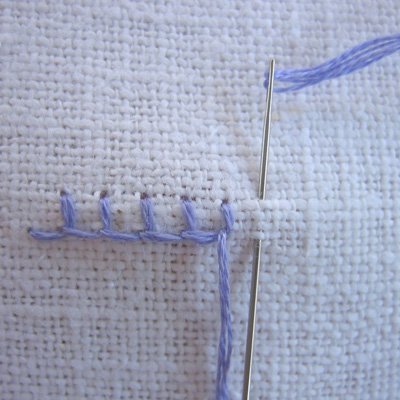
Turn the towel over and work your line of stitches along the edge. I used a towel that was already hemmed for these pictures but you could use this stitch to decorate and hem the towel at the same time. Just make sure that you catch the folded edge on the back with your stitches.
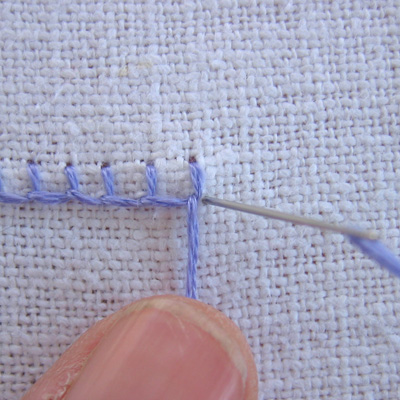
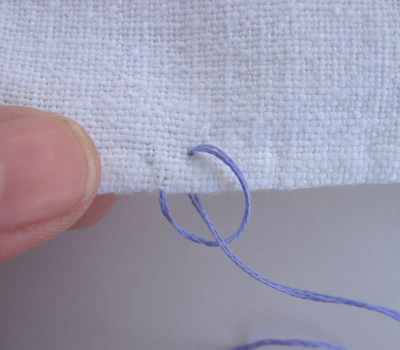
When you come to the end, take your thread to the back over the last loop to secure it. Bring your needle back through the fold to hide the ending and knot it.
الله يوفقك طيوبه
ننتظر المزيد المزيد
انجزت مثلها لكن الشكل مثلث لفستان بنتي
بارك الله فيك
كنت نموت على الطرز و ان الوقت خايني
