Like last week, you’ll work with a drawn leaf shape but without the center line. You won’t need this because your first stitch will form a guide for you to work over. So, start by bringing your needle up at the very top of your leaf shape and down again about 1/2 inch below it.
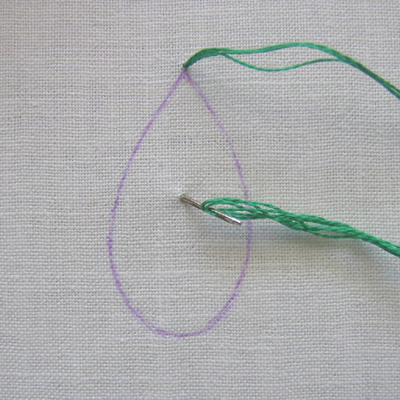
Pull your thread through and come up again on the outline to the left and directly across from the bottom of the first stitch.
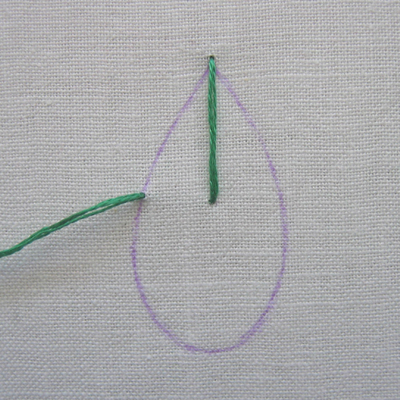
Take your thread to the back on the outline near the top of the first stitch and just to the right of it. Then come up again to the left of it. You can do this in two steps or one like I’ve done here.
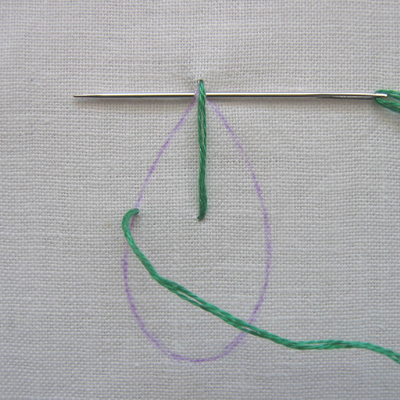
Pull the thread through. Now, take your needle down on the right side of the outline and directly across from the bottom of the center line stitch. Come up again on the left outline slightly below the previous stitch. Again, you can do this in two steps or in one continuous motion, whichever you find easier. I’ve shown it done with two, but did it in one in the later photos.

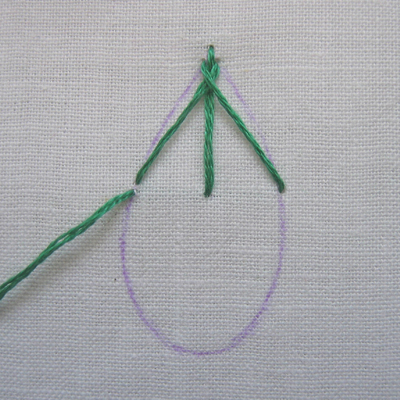
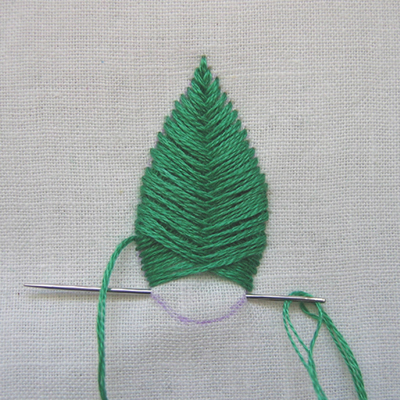
You’ll begin to see how the threads cross at the top. Take your thread from right to left again at the top, working slightly below your last stitch and along the outline on both sides. Repeat from right to left again at the bottom and slightly below the previous stitches.
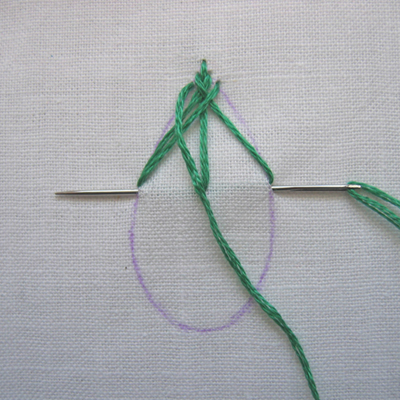
Continue to work your way down the shape, alternating between the top and bottom and always working from right to left (or left to right if you’re left-handed).
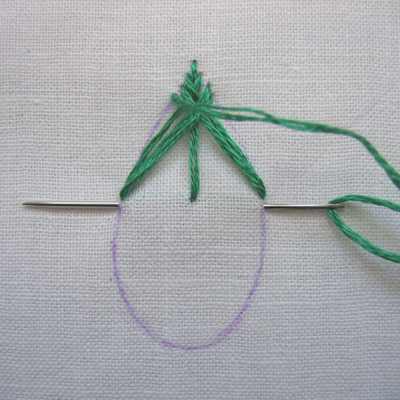
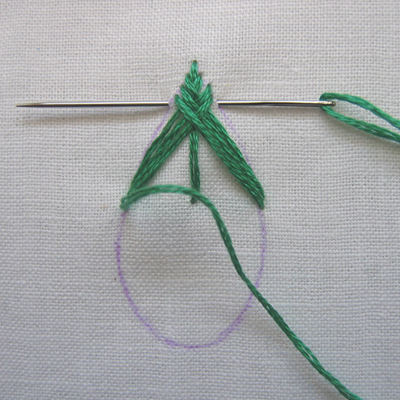
See how the crossover is forming a pattern now. At some point you’ll have covered your center line but you won’t need it—just continue following the outside edge formed by the previous stitches.
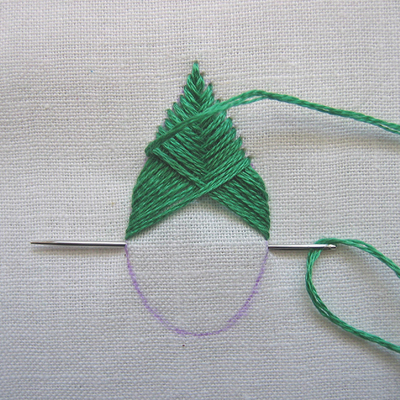
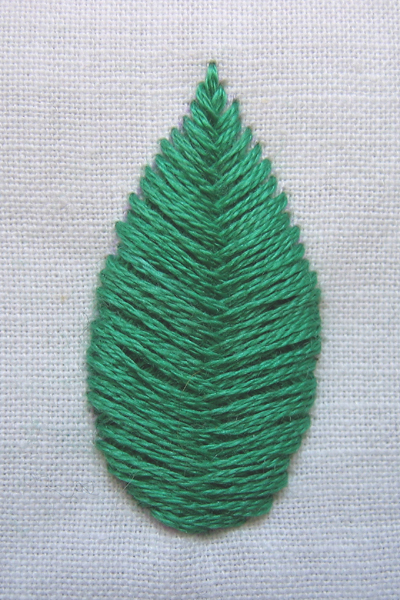
Here’s the finished leaf shape.
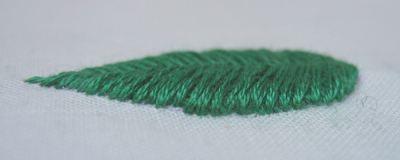
And here’s a side view so you can see how it raises up off the surface. Pretty cool!
I know this one sounds complicated but it’s actually easier to do than to explain how to do it. One you work a few rows and get past that awkward stage, you’ll see how easy it is. I really love how it looks so will definitely be working this stitch into the ones I use regularly.
افيدك الله مثل ما تفيدينا